-
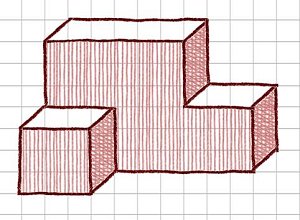
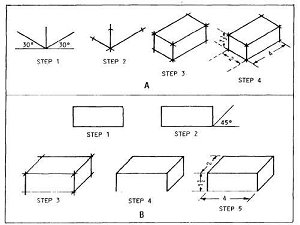
Technical Drawing:Pictorial Drawing Stylesa sketch that shows an objects height, width, and depth in a single viewOblique - a form of pictorial drawings where a sketch begins with a flatorthographic front with depth lines receding at a 45 degree angle
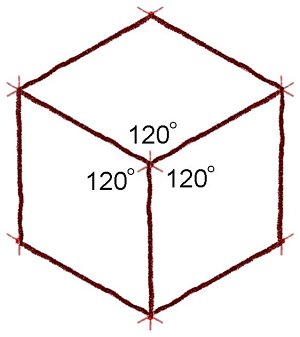
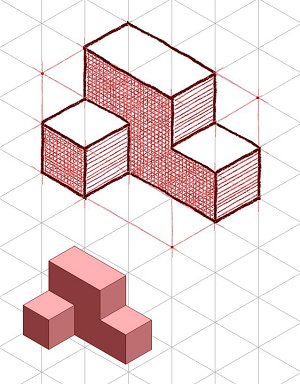
 Isometric- a form of pictorial drawing where all three drawing axis form threeequal angles (120 degrees)
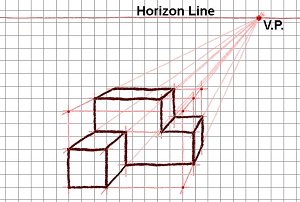
 Perspective - a form of pictorial drawings in which vanishing points are used toprovide the depth and distortion that the human eye sees1 point - uses a horizon line and one vanishing point
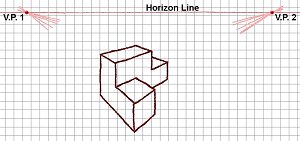
 2 point - uses a horizon line and two vanishing points
 Orthographic Projection - a method of representing a 3-D object on aplane showing only two of the three dimensionsusually the top, front, and right side. These viewsare in alignment with each other.The top view shows the width and depth.The front view shows the width and height.The right side view shows the depth and height.
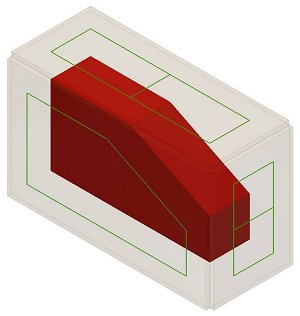
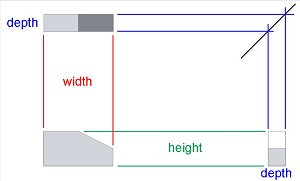 Multi-View Drawings- a combination of the othographic projections of an objectalong with the Isometric view of the same object arrangedspecifically on a Title Block as seen below.
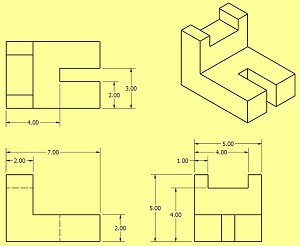 Line Types-different types of lines used in a technical drawingObject Line -Lines are thick and dark and used to define the objectDimension Lines -Lines used to show the measurements of an object.Usually pulled away from the object by an extension line.A dimension appears in a break in the center of the line withsmall arrows at the ends point toward the extension lines.Extension Lines-The lines which extend from the object itself and border the dimensionlines. These lines DO NOT touch the actual object but are palced 1/16thof an inch from the object.Hidden Lines-Lines used to show interior detail that would not be seen from theoutside of the part and are depicted by a dotted line.Line weight-The variation of the lightness or darkness or the thickness of a line type.Different lines weights are used for different line types.
Last Modified on September 7, 2022

